


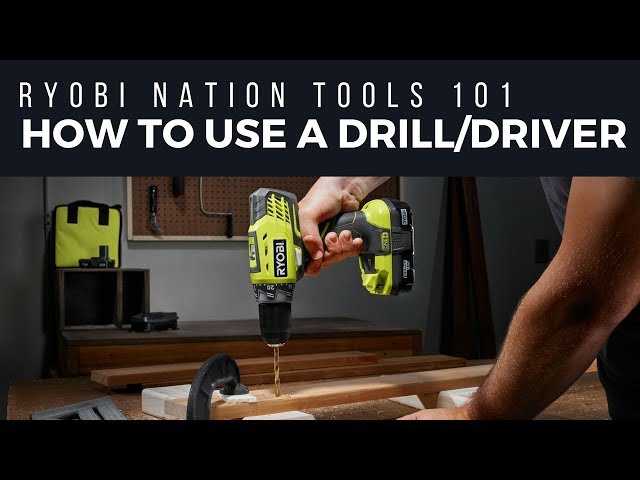
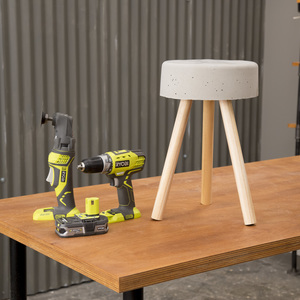
Drills & Drivers
Related Videos:
Drill/Drivers are designed for drilling holes and for driving screws, bolts and other fasteners.
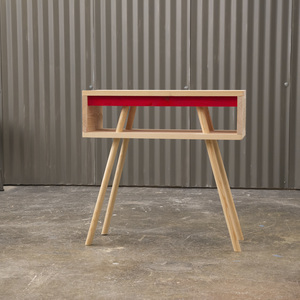
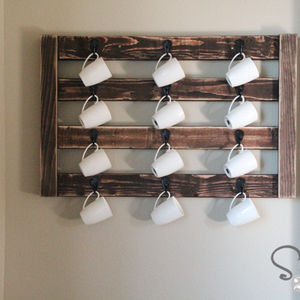
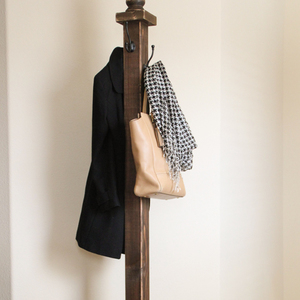
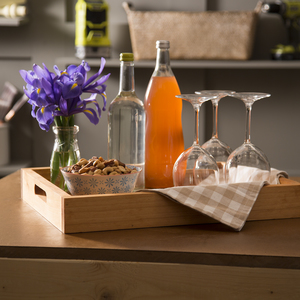
If you're ready to take on a DIY project, the Drill/Driver will be your most important tool. Becoming familiar with your Drill/Driver will give you a good foundation for the majority of your DIY project list. Browse this section, learn all you can, and make sure to check out the introductional video with Ana White.
share
Keep extra batteries on hand
It's a good idea to have an extra charged battery on hand if you plan to take on a large-scale project.
Make a depth marker with tape on your drill bit
Measure the bit as far as you want to drill a hole into your material and mark the bit with tape. This helps you make sure you're drilling to the same depth every time.
Make sure your bit is securely tightened
A loose bit can damage your work surface. Make sure you tighten the chuck firmly before you start working.
Practice
Find a piece of scrap wood and take the time to get familiar with your Drill/Driver. Practice driving fasteners with and without a starter hole and holding the drill level on several different types of materials.
Change directions with the direction switch
Switch easily between forward and reverse modes with the direction switch above the trigger.


- 1
- 2
- 3
- 4
- 5
- 6
- 7
- 8
- 9
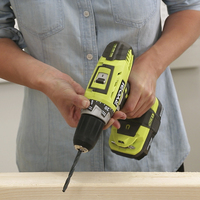
Bit
The piece of metal that goes into the drill's tip. There are bits for drilling holes and bits for driving screws.
Bubble Level
The water tube on the top and back of the drill that shows you when you are level with your drilling surface.
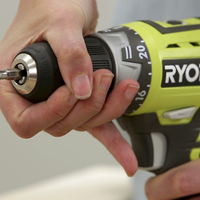
Chuck
The cylinder that opens and closes the jaw of the drill.
Chuck Jaws
The portion at the very tip of the drill that holds the bit in place.
Chuck Key
An additional tool required to loosen and tighten the chuck.
Clutch
The ring around the front of the drill (usually right behind the chuck) that lets you adjust the torque setting.
Clutch out
When the material you're driving into is too dense or tough for the clutch setting, the drill will stop moving the fastener. This is designed to protect your surface from damage. Adjust the clutch to a higher setting to complete the drive.
Gear Switch
The switch on top that lets you choose between highest speed, and highest torque.
Keyless chuck
The kind of chuck that you can loosen and tighten by hand.
Lithium-Ion Battery
The most efficient kind of battery for a cordless drill. They typically charge faster, run longer, and don't slowly fade in power.
Ni-Cad (Nickel Cadmium) Battery
The "old school" kind of battery. They tend to take longer to charge, and they gradually lose power as they run down.
Torque
A drill's word for power. High torque means the drill/driver is turning the bit very hard.
-
Are drills dangerous?
If used correctly, and if you follow all the safety requirements in your manual, you can use a drill safely. -
How do I know what settings to use?
If you're drilling, use high speed and adjust your Drill/Driver to "drill". If you're driving, use low speed, adjust the clutch dial to a high setting, and adjust as needed. -
How do I know what type of drill I need?
The most common type of drill for DIY is a Drill/Driver. The Drill/Driver is able to handle most around-the-house applications and basic repair work. -
What's the difference between a Drill/Driver and an impact driver?
While both a drill/driver and an impact driver drill holes and driver fasteners, an impact driver is optimized for high-torque, efficient fastening. -
How do I switch between drilling and driving on my drill?
Drilling requires drill bits to make holes. Driving requires driving bits to hold the fastener while the drill/driver sinks the fastener into the material. Simply select the appropriate bit. For driving, move the gear switch to the high torque setting, and for drilling move the gear switch to the high speed setting.